
How to Clean a Bird Feeder (and How Often)
How to clean a bird feeder: scrub the debris off first, soak ten minutes in one part bleach to nine parts water, dry fully. Why soap alone is not enough.
How to clean a bird feeder, in one line: take it apart, scrub the debris off, soak the parts for ten minutes in one part bleach to nine parts water, rinse, and let everything dry completely before you refill it. Do it every week or two. The order matters, and there is a study that explains why.
Scrubbing is the step that gets shortened, usually to a rinse and a splash of bleach. It is also the step that decides whether the disinfecting accomplishes anything.
How often should you clean bird feeders?
Every week or two under normal conditions. Project FeederWatch puts the interval at roughly one to two weeks, and says to go more often during heavy use or wet weather. The National Audubon Society lands in the same place, recommending cleaning seed feeders every two weeks or so.
Treat that interval as a floor. Audubon is blunt about when to tighten it: Double the frequency of cleaning if you suspect the presence of disease at all.
When does the schedule need to be shorter?
Two things push it. Wet weather, because damp seed cakes onto surfaces and molds. And crowding, because more birds through the same ports means more contact with the same contaminated surfaces.
Both are conditions rather than dates, so the honest version of the rule is that two weeks is the interval for a dry, quiet feeder and anything busier earns a shorter one.
How often should a hummingbird feeder be cleaned?
Hummingbird feeders run on an entirely different clock. FeederWatch says to clean your hummingbird feeders even more frequently (e.g., every couple days), because sugar water spoils fast in warm weather. Audubon scales the same job by temperature, from daily in heat down to twice a week when it cools, and that schedule is what decides how late into autumn a nectar feeder can stay out. Washing the outside matters as much as the reservoir on these, since dried sugar on the glass is what recruits the ants.
Cleaning is also where nearly all of the argument about whether feeding birds is good or bad for them actually lands, since disease is the one harm with population-scale evidence behind it.
Why scrubbing alone is not enough
The link between a dirty bird feeder and salmonella is not a guess. Researchers compared three approaches: scrubbing feeders with soap and water, soaking them in a diluted bleach solution for ten minutes, and scrubbing them with soap and water followed by a soak in bleach solution. They then measured what Salmonella survived.
The first result is the expected one: the two methods that involved a bleach soak were more effective in reducing Salmonella bacteria than simply scrubbing with soap and water. Bleach beats soap.
The second result is the one that should change your routine: feeders with debris had more bacteria after cleaning than new feeders, regardless of the cleaning method used. Debris survives cleaning, and bacteria survive inside the debris. Bleach cannot reach what the crust is protecting.
Which leads to the finding that settles the question: debris-laden feeders that received only the soap and water treatment still had enough Salmonella to risk disease transmission.
The three steps work as a sequence, not a menu. Scrubbing without disinfecting leaves bacteria behind. Disinfecting without scrubbing leaves the debris that shelters them. Physical removal has to come first so that the bleach has something it can actually work on.
What the three methods actually achieved
The study reported its results in words rather than percentages, so this table does the same. No number here is inferred.
| Method tested | What the study reported | Can you rely on it? |
|---|---|---|
| Soap and water scrub only | Less effective at reducing Salmonella than either bleach method | No. On a feeder with debris it still left enough Salmonella to risk transmission |
| Ten-minute soak in dilute bleach | Among the two more effective methods | Better, but bleach cannot reach bacteria sheltered inside debris |
| Scrub first, then bleach soak | Among the two more effective methods | Yes. This is the sequence the finding supports |
| Any method, on a feeder with debris | More bacteria after cleaning than a new feeder, regardless of method | The debris is the variable that decides the outcome, not the disinfectant |
The last row is the finding that makes this article's order non-negotiable: the method you choose matters less than whether anything is left for the method to work through.
How to clean a bird feeder, step by step
1. Take it apart. All of it, not just the lid. It is also the step that decides whether a homemade feeder is a feeder at all. FeederWatch's instruction is to take them apart, scrub off the debris, and wash the parts thoroughly. A feeder you cannot disassemble is a feeder you cannot really clean, which is worth remembering the next time you are choosing between feeder designs.
2. Scrub off the debris. Not rinse. Scrub, with a brush that reaches into the ports and the corners. This is the step everything else depends on.
3. Soak in dilute bleach for ten minutes. The bird feeder bleach solution everyone quotes comes from here. Soak the (cleaned) parts for 10 minutes in a diluted bleach solution, mixed at one part bleach to nine parts water. Audubon gives the same ratio from the other direction, nine parts water to one part bleach. Ten minutes is the soak time used in the study, so it is the number with evidence behind it.
Alternatives to bleach. K-State Extension names three: thoroughly clean and wash each structure using 10% bleach, hydrogen peroxide, or isopropyl alcohol. Ten percent bleach is the same strength as the one part in nine above, arrived at by a different route. Hydrogen peroxide is also what Audubon names for nectar feeders, where dish soap is ruled out.
4. Rinse thoroughly.
5. Dry completely. Allow feeders to dry completely before refilling. Seed poured into a damp feeder starts molding immediately, which undoes the work you just did. Dryness matters on the storage side too, and for a reason beyond mold: wet seed can briefly carry a parasite that dry seed does not.
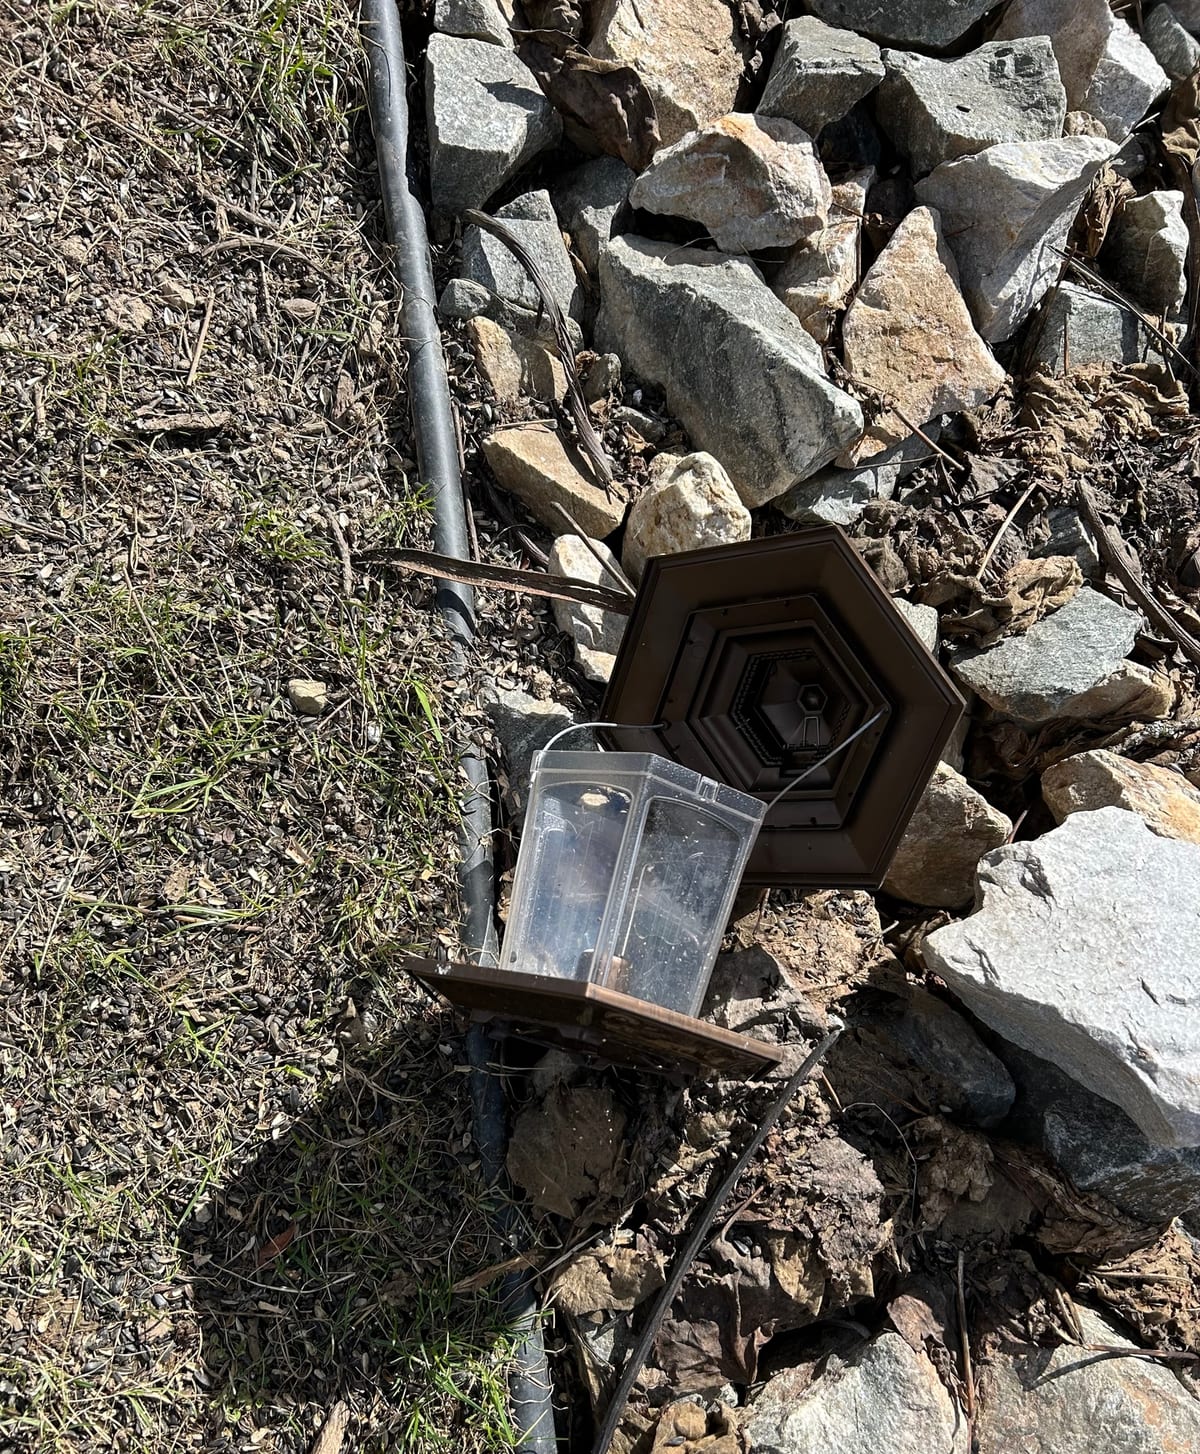
Spoiled seed is worth treating as a category of its own, since it belongs on the list of things that should not be offered to birds at all.
Audubon adds one job that happens away from the feeder itself: clearing the ground underneath, raking or shoveling up the droppings and seed hulls that collect there, especially anything moldy or wet, and throwing it out. Birds feed on what falls, so the ground under a feeder is part of the feeder.
The same reasoning extends to standing water. A bird bath is a shared surface that birds drink from and sit in, so it belongs on the same cleaning schedule as everything else in the yard.
One practical note on hardware. A feeder that comes apart without tools gets washed on schedule and one that does not gets washed when something goes wrong, which matters most where there is no hose and no lawn, as on a balcony or a window mount.
Where the residue actually sits
Three places, and none of them are the parts you notice at a glance.
The ports
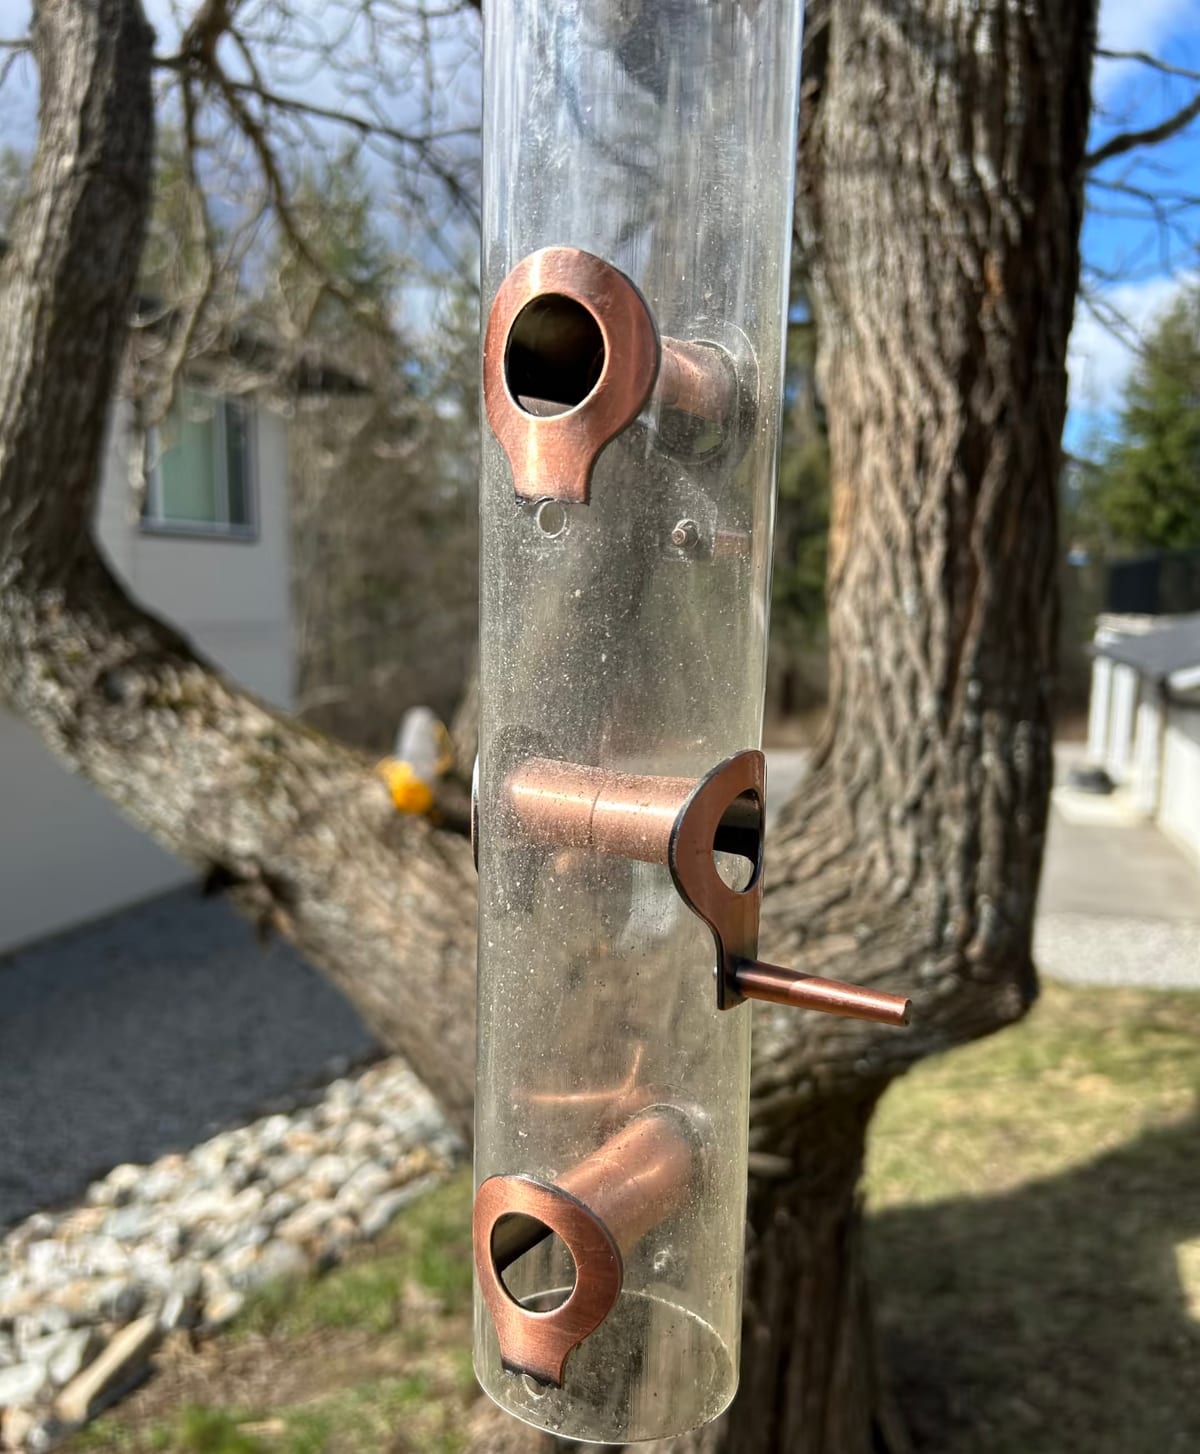
Seed sits against the opening, gets rained on, and cakes. The rim of a port is also the exact surface every bird touches with its beak.
Suet cage joints
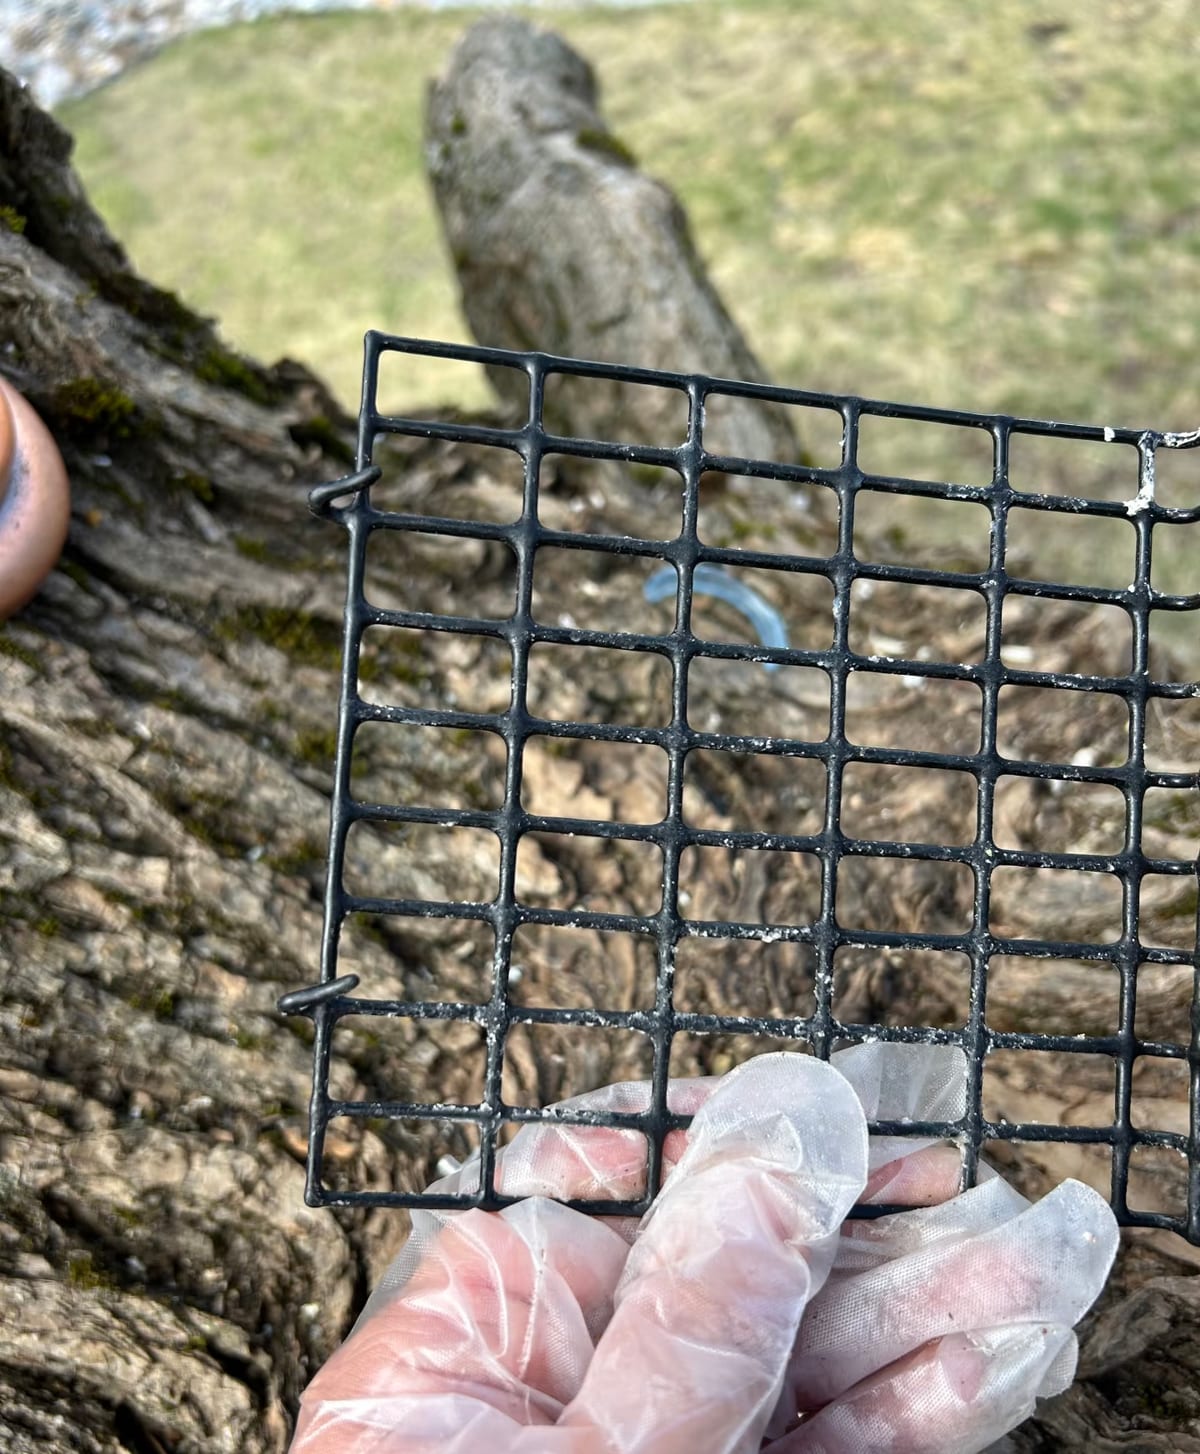
Every intersection of the wire grid holds fat, and fat holds everything else. Look again at the first photograph in this article: the white crust has worked its way into the grid itself. That is the debris the study was measuring.
The tray lip and the base
The lowest point of any feeder collects hulls, water, and droppings together. A feeder with a solid floor and no drainage will fail here first.
Those are the parts a rinse from a garden hose will never reach, which is the practical reason the scrub comes before the soak.
What to do when a sick bird turns up
Salmonellosis is primarily transmitted by fecal contamination of food and water by sick birds, though it also can be transmitted by bird-to-bird contact. A feeder concentrates birds around a small number of shared surfaces, which is the condition transmission needs.
How do you know a bird is sick?
FeederWatch describes what to look for: Sick birds may appear thin or fat and fluffed up and may have swollen eyelids. A bird that stays put when you approach, or sits fluffed at the feeder for a long stretch, is worth a second look.
How long should the feeders stay down?
The recommendation in that case is to stop feeding for a while: remove the feeders the sick bird is using for a couple of weeks to ensure that disease is not being spread. Taking the feeders down disperses the birds and breaks up the concentration that made the feeder a transmission point.
Disease is one of several reasons to take a feeder down, and the seasonal ones arrive on a schedule whether or not anything looks wrong. If you have actually found a sick or dead bird, there is a specific sequence to follow.
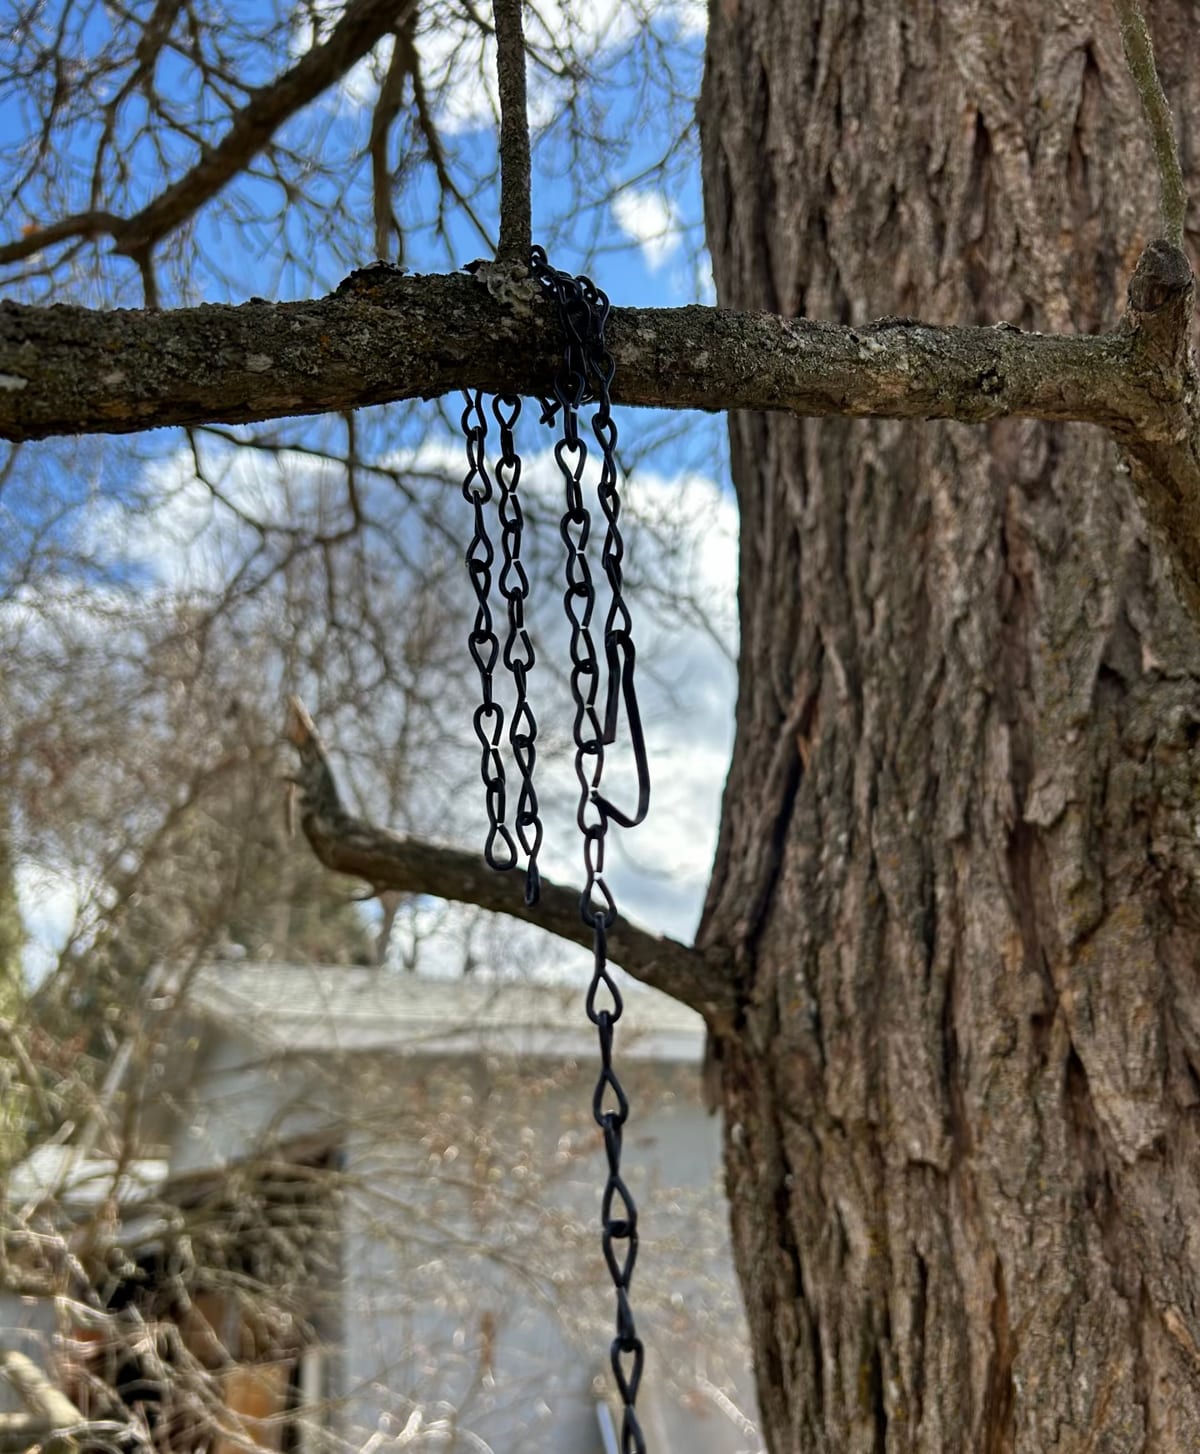
Audubon makes a related point about layout: spreading food across several feeders rather than one gives sick birds fewer opportunities to contaminate the others. Crowding is a risk factor you can design out.
The baseline does not wait for symptoms. FeederWatch's standing instruction is to regularly clean your feeders even when there are no signs of disease.
One caution on carrying this method across. The scrub-then-bleach sequence is written for seed feeders. Audubon names different agents for nectar feeders, and the reason it matters is residue in parts a bird drinks from directly.
Questions people ask
Can I put a bird feeder in the dishwasher? Some manufacturers say their feeders are dishwasher safe, and if yours does, follow it. Treat it as the wash step rather than the whole job: a dishwasher rack will not reach inside a narrow tube or into the joints of a suet cage, and those are the places residue lives. Check them by hand afterwards.
Is bleach safe to use on a bird feeder? It is the method the research supports, at one part bleach to nine parts water, with a thorough rinse and complete drying before the feeder goes back up. The rinse and the drying are what make the bleach step safe.
Can I use vinegar instead of bleach on a bird feeder? The feeder research tested soap and bleach, not vinegar, so there is no result here to point at either way. Vinegar does appear in published guidance for a different object: Audubon recommends a nine to one water and vinegar solution for bird baths, and advises against synthetic soaps there because they can strip oils from feathers. We are not going to carry that recommendation across to seed feeders, because the study that justifies this article's method did not test it. The bird bath case and the disagreement inside it is worth reading on its own terms.
How often should I clean a hummingbird feeder? Every couple of days in warm weather, per FeederWatch. Sugar water is a different problem from seed. At any sign of cloudy water or black mold, discard the solution rather than topping it up.
Do I really need to clean if I only have one feeder? Yes. A single feeder concentrates every visiting bird onto one set of surfaces, which raises the stakes rather than lowering them.
What if the feeder will not come apart? Then it will not really come clean, and that should count against it when it is time to replace it. How well a feeder disassembles is a maintenance specification worth checking before you buy.
The short version
Knowing how to clean a bird feeder comes down to respecting the order: scrub, then disinfect, then dry. The study is clear that the sequence does the work, because bleach cannot reach bacteria sheltered inside debris. Every week or two, more often when it is wet or crowded, and two weeks off entirely if a sick bird shows up.
If the birds have stopped visiting altogether, that is a separate diagnosis. Cleaning is the maintenance job that affects the birds. The other recurring one affects the equipment: keeping squirrels off the feeder, which turns out to be a question of geometry rather than scrubbing. How to clean a bird feeder matters more than what you fill it with, which is the opposite of how most people rank the two.
The photographs in this article were taken by our contributor Kevin Hu during a full takedown and clean, and are used with permission. More on where our photographs come from.